I needed a way to display my spoons for a recent pop-up shop venture with some other local makers. I didn't want to use dimensioned timber. I wanted to use roundwood and green woodworking techniques so that the stand would match the character and spirit of my handmade spoons. This is what I came up with. I thought I would share the idea since it could be easily adapted to display many types of products in a satisfyingly simple and rustic way.

Firstly, I made some 1/2" ash pegs using a wonderfully simple and effective tool called a tine cutter, traditionally used to make the tines (prongs) of wooden hay rakes (the one I have is made by Ray Iles). Making the pegs is a very satisfying process! I took a short length of very straight ash, wrapped a bungee cord around it and started splitting it with the froe. First, I split it in half, through the pith, and then again at right angles to make four equal quarters. The bungee conveniently held the pieces together as I continued splitting in a grid pattern to produce a bundle of square pegs with sides slightly longer than 1/2". I didn't bother to mark it out. It was easy enough to do by eye.


I positioned the tine cutter over a hole in the bench to allow the round pegs to fall through. As each peg is driven through with a wooden maul, it pushes the preceding one, now a perfect 1/2" round peg, into the bucket underneath with a delightful 'ping'! As unsatisfying as it sounds, driving a square peg into a round hole can be just the opposite! I wouldn't recommend using seasoned wood for this because your tine cutter will rapidly become blunt and need resharpening. When I had enough pegs, I left them near the fireplace to dry thoroughly. If the pegs are driven into a mortice while green, they will shrink and become loose later. Since ash has a low water content to begin with, drying is fairly rapid.

The tine cutter in action.

A bunch of lovely ash pegs.

For the base, I simply used an ash log, approximately 7" in diameter. This may seem like a waste of wood but I found that it looks good and the sheer mass of it makes for a stable stand. You could just as easily use some knotty wood that has little value for other purposes. I decided to strip the bark from one side with a drawknife but the bark could be left on if desired. I took some time to try out a couple of peg layouts in pencil before drilling. When I had chosen my layout (sort of a partial helix), I marked the positions of the pegs with an awl and shaved off the pencil marks with the drawknife.

Shaving the bark off one side of the ash log with a drawknife.

Laying out the peg positions in pencil.
I drilled the holes with a brace and bit and drove the dry pegs into the holes. Bear in mind that, depending on the water content of the wood from which the pegs were made, they may have shrunk from their original size. You shouldn't need to use glue if the peg is dry and the hole is the correct size. You will find that they are extremely difficult to get out again if, say you use a peg that is too short by accident (as I did!).
After drilling the first hole, I would suggest driving a peg into it, and using it as a guide to drill the next hole. This is a good way to make sure the angle of the holes is consistent. Compared with an electric drill, the extra length of a brace and bit and the ability to make minor adjustments as you drill makes lining up holes a lot easier. You can sight along the length of the brace as I am doing in the picture below.
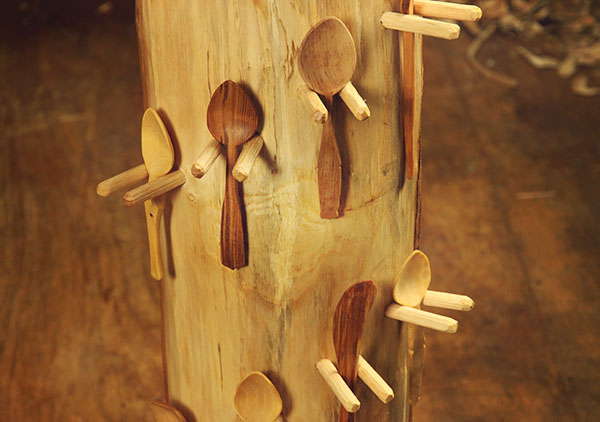
After inserting all the pegs, I cut them to the same length. In this case, I left them long enough to hang multiple spoons in each position if desired. I rounded the ends of the pegs with a knife to give them a faceted finish, similar the spoons themselves.

Sighting along the brace to line up the hole, using the previous peg as a guide

Cutting the pegs to length
Lastly, I made a slot in the top of the stand for my business cards by making two parallel saw cuts into the end grain and chiselling out the wood in between. I thought this rather an elegant and simple little addition.

A beautifully simple way to display your business cards
To finish, I rubbed a linseed oil-beeswax mixture into all the exposed wood. I also added three legs to give some extra stability (see photo at the top) but I later removed them because I think, provided the bottom surface is square and flat, it has enough stability as it is and looks a little more elegant.
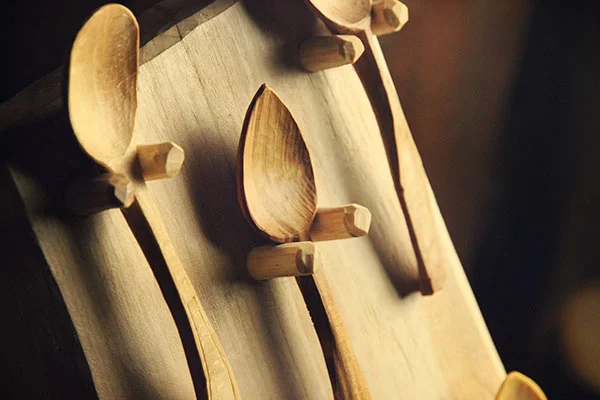
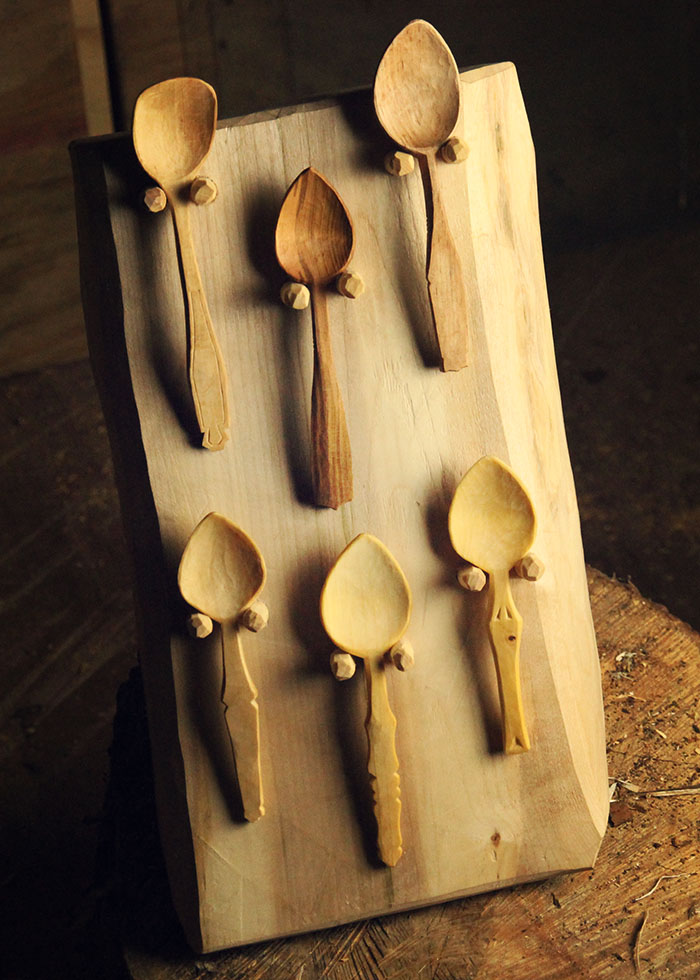
This design is very quick and easy to make and can be easily adapted other types of stands and products. I have made several other variations on this idea using the same basic principles. This particular model suffers from a slight design flaw which means that the spoons are quite easy to knock off the stand. In later models, I have found that slightly squarer pegs and a slightly reclined surface (as in the smaller stand depicted below) makes for more stable spoon mounting. Some ideas for you anyway.